The ulti-MATE Guide to the MATE X!
Note: this page contains Amazon Affiliate links. By ordering through the links below you’re supporting E-BikeGear.com because we earn a small commission from each sale. Thank you for your support 🙏
Looking for accessories and upgrades? Click here!
Looking for the perfect e-bike? See the top e-bikes on Amazon!

The ulti-MATE Guide: Tips, tricks, and how-tos for the Mate X.
After reviewing the Mate X Assistant, scouring the forums, and riding the first 100 miles on my own Mate X, here are my top 8 tips for your new Mate X!
1. 📱Adjust these 👇 settings on your display (or watch these YouTube videos):
Maximize your Mate X’s range with with these 4 tips!
How to access Ludicrous Mode on the (new, 850C) color display!
Wheel size: adjust the “wheel size” setting from 20” to 24” for a more accurate speed reading.
Current level: I recommend 15 - 20 Amps (you’ll need to access “advance setting” (code is 1919 for Taiwan bikes or 1801 for China bikes). While the factory setting of 25 Amps gives you LOADS of acceleration and speed, it drains the battery very quickly.
Pedal assist (PAS) levels: Pedal assist levels control the top speed of the bike. The higher the PAS, the less range you’ll get. To maximize range, stay in PAS 5 or lower. For example, PAS 1 equates to about 8 mph, while PAS 5 equates 23 mph.
Battery reading: change to “Voltage” for more granularity. The percentage changes in 20% increments which isn’t enough for most people. The voltage setting shows your battery’s actual voltage. It will range from about 54.3 Volts (fully charged) to 43 Volts when empty. When you get near 44 Volts, start looking for your charger :)
Ludicrous Mode: We can’t forget that, can we? Disclaimer: by using Ludicrous Mode, you will void the warranty of your bike. You will also experience a significant loss of range due to the high speed and power output. That said, if you’re okay with this, go to >> “advance setting” >> enter the code (1919 for Taiwan bikes or 1801 for China bikes) >> then adjust the speed limit from 32 kmh to 99 kmh. Check out my Youtube video on Ludicrous Mode for more details! If you have bikes from China, scroll down to see detailed instructions for the other displays (color and black and white).
For a full list of Mate X upgrades and accessories, check out this page!
2. Replace the handlebar clamp screws 🔩🔩 ASAP:
The factory screws which hold the handlebar in place are too short, resulting in stripped threads and loose handlebars 😳 I suggest replacing them ASAP with longer screws and a blue threadlocker. Check out the video for more!
Buy longer screws (M6 x 30 mm): https://amzn.to/2XFfOM0
Buy blue threadlocker: https://amzn.to/2s5YVyk
3. 🔧 Tighten these four things immediately:
Then again after 10 - 20 miles. As with all new bikes, it’s important to tighten the components as soon as you receive it. These 4 items are known culprits which you should pay attention to:
The kickstand allen screws; they’ve been known to come loose.
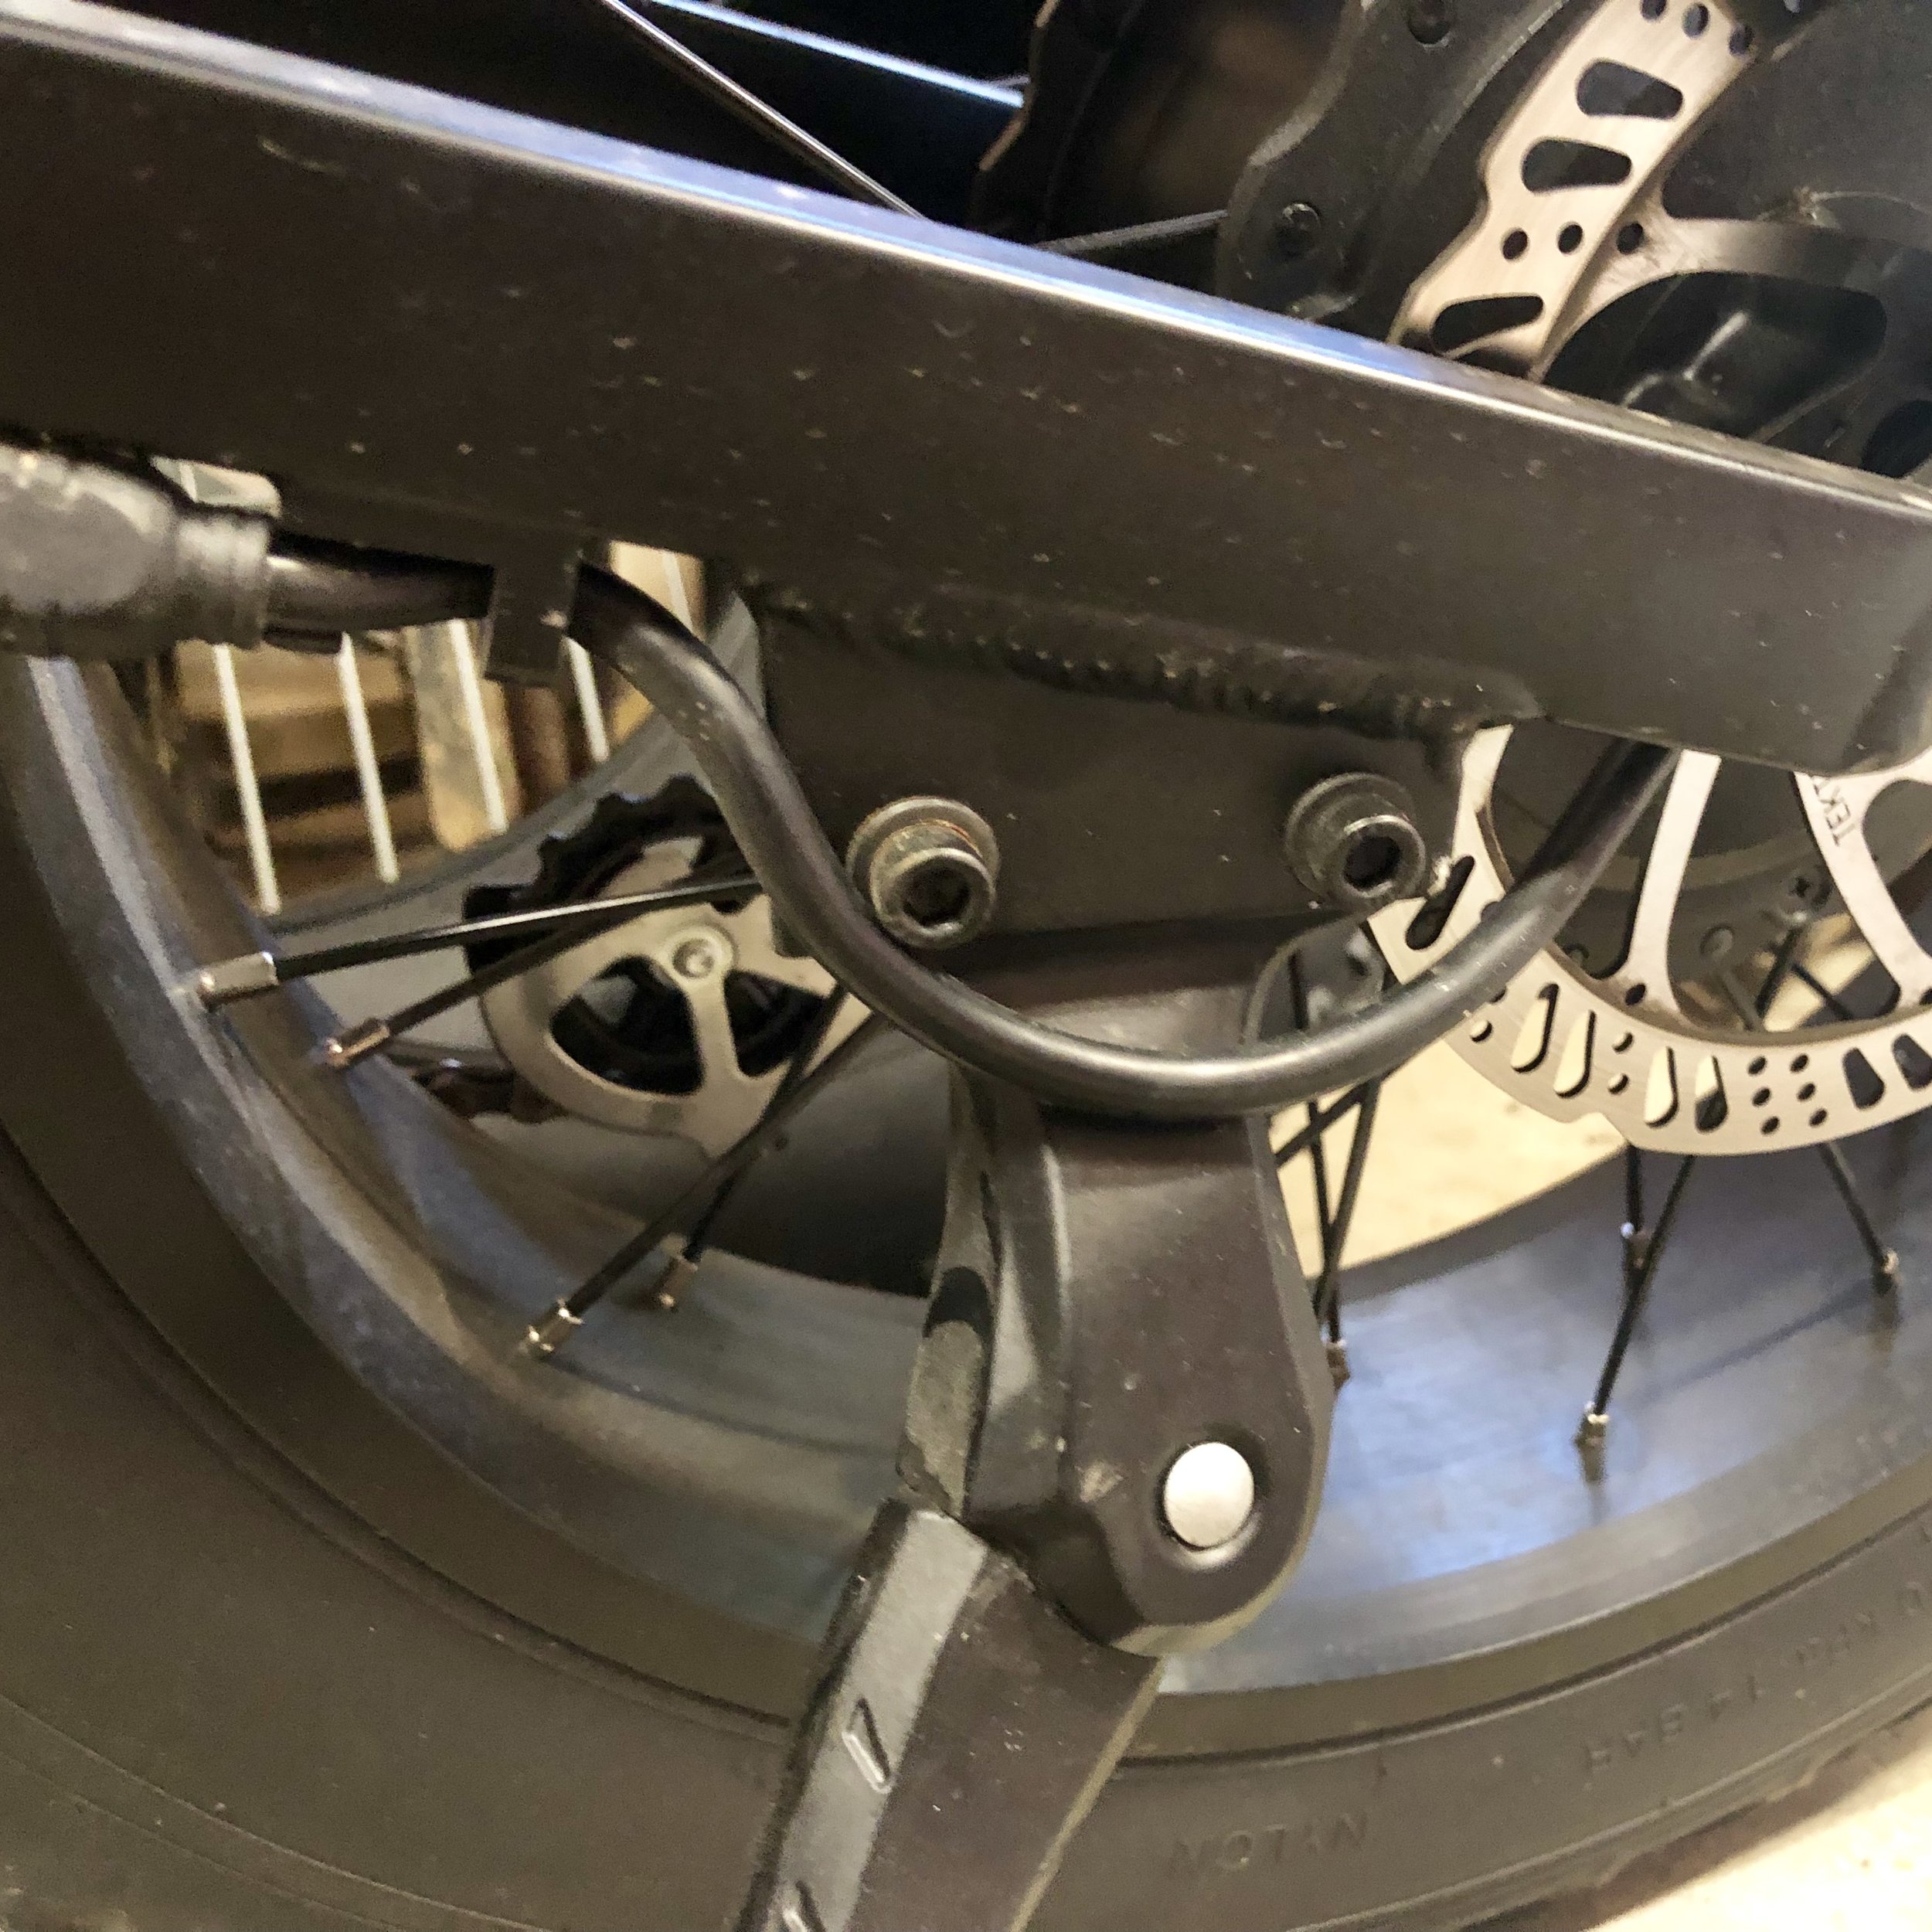
The allen screw which secures the folding stem to the headset (see picture). I’ve noticed a wobble in the handlebars after a little riding. A half turn (or two) of the screw should resolve it. Note: Do not over-tighten this screw, as it may become impossible to release the folding latch.
The seat post clamp: Unlatch the lever and twist the screw until your seat post becomes snug, but not fixed. Then adjust your seat post to your desired height. Fold the latch closed again to secure it.
Handlebar clamp: same as #3. To adjust the handlebar height: when sitting on the seat your hands should angle downward 6-8 inches (15-20 cm) below the height of your shoulders.
Tighten these allen screws for the kickstand.

If you notice “play” in the steering, tighten this screw.
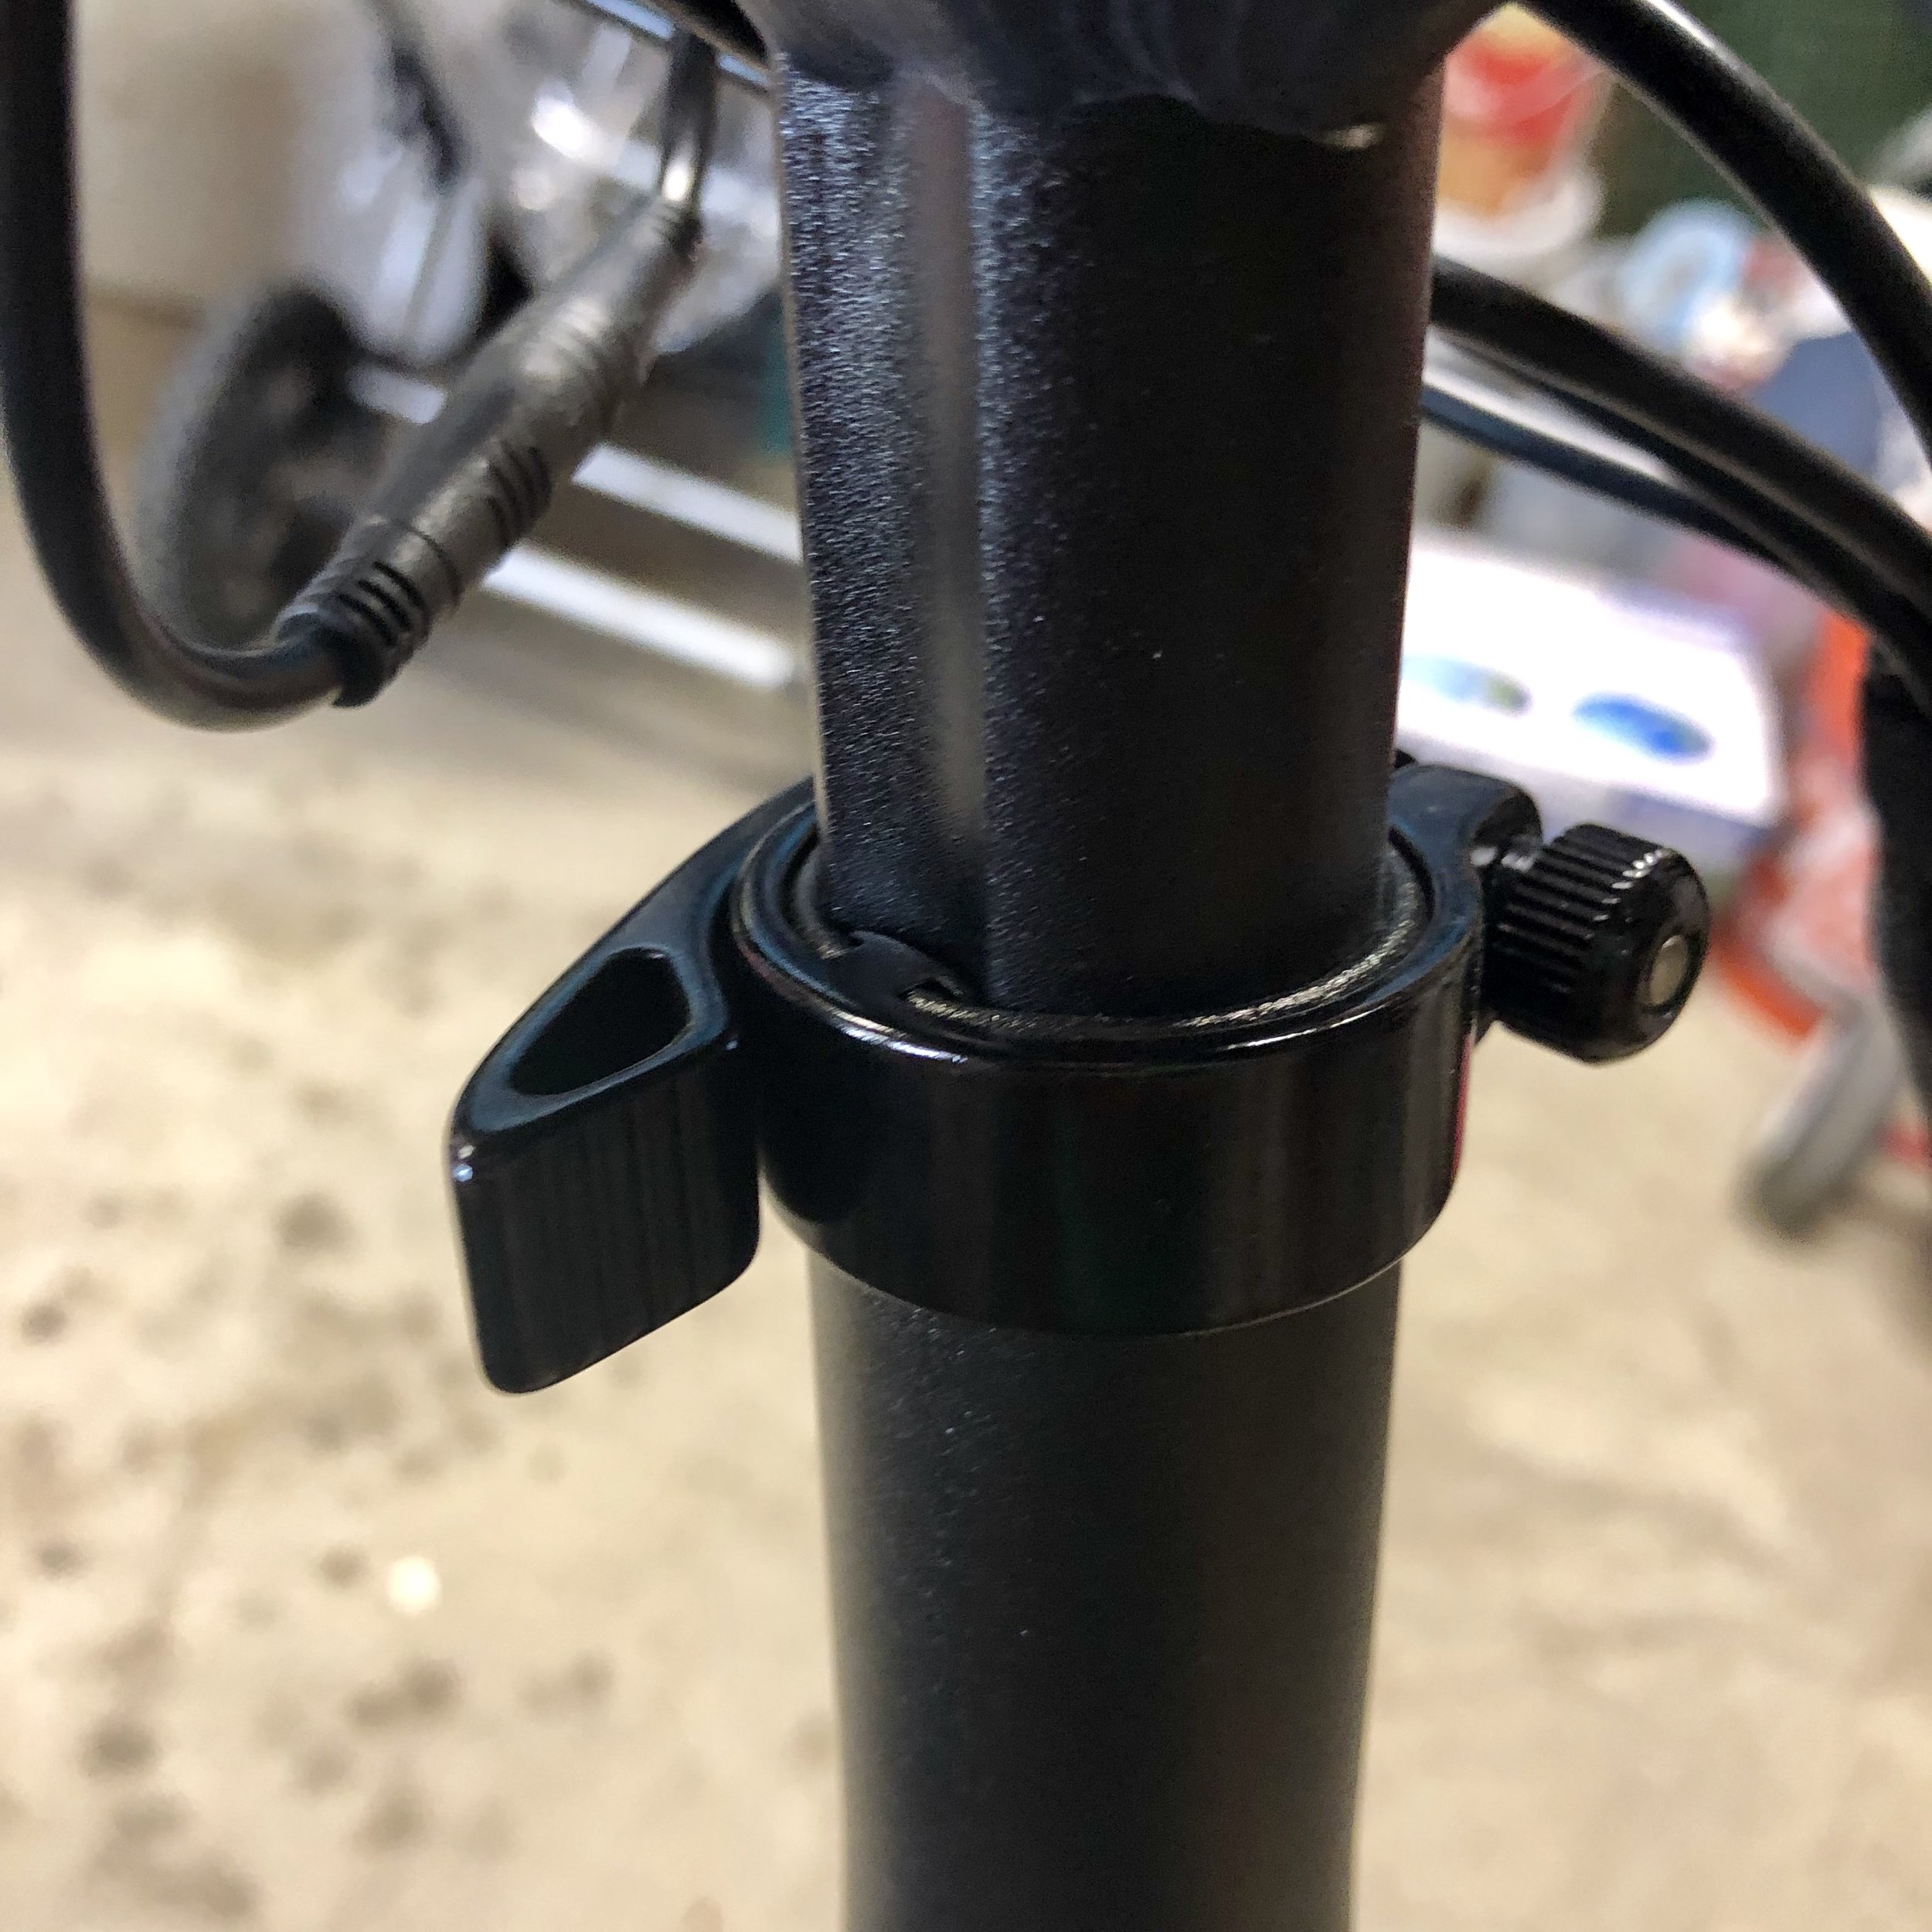
You can tighten the seat post clamp by opening the clamp and tightening the screw.
4. ⚙️ Consider gearing UP your Mate (if riding over 25 mph)
To improve pedaling cadence at higher speeds, consider either changing 1) your chainring to a higher tooth (58T) or 2) your rear cassette to an 11-34T 8 speed. The factory setup becomes difficult to pedal beyond about 25 mph (due to a very fast pedal cadence), so if you’re planning to do a lot of riding above that speed, consider changing the gearing on your Mate. You can do this two ways:
1) Installing a 58T chainring like this one (on Amazon) is the simplest option since you don’t have to remove the rear wheel. However, the downside is that it doesn’t provide the same low speed cadence and torque benefits as installing an 11-34T 8 speed. Note: I have not yet verified this fits the Mate yet. While it has a similar 5 bolt pattern I have not verified the spacing fits the 110 mm pattern. I will update this once I verify, so please do your own research before buying in the meantime.
2) Installing a 11-34 T 8 speed freewheel will give you the same low-speed starting torque, but gives you a higher top gear. The smallest cog (highest gear) is 11T instead of 13T, so you can pedal at 30 mph more comfortably. Since the 11-34T freewheels are hard to come by, a DNP 11-32T freewheel is available here on Amazon and here on AliExpress. The 32T will make your starting gear about 6% slower than the 34T. Note: be sure to order a freewheel, not a cassette.
5. 🔌 Battery charger issues
Some people have noted issues with the battery charger. See resolutions to the following issues
Wrong plug type (e.g. EU prongs shipped to US customers): You’ll need a simple EU to US plug adapter like this one from Amazon.
Charger gets quite warm (even hot): this is normal due to 200 Watts of power conversion from DC to AC. However, if the charger is too hot to hold or starts smoking, unplug it immediately (from the wall and the battery) and see the next bullet.
Sparks when plugging into the battery: To prevent this, plug the charger into you wall outlet first, then into the bike. If your battery is completely drained, you may experience this but leave it plugged in for 2-3 minutes
Charger is smoking, making a noise, or the light doesn't turn on: you likely have a defective charger and you contact Mate Customer support to get a new one (email: hello@mate.bike)
Need a new charger?
Check out this 2 Amp charger on AliExpress. Be sure to select the “RCA” plug option (see picture) and allow 2-4 weeks for delivery since they ship directly from China.


7. 🚴 Consider changing the pedals
The factory pedals fold in half to save space, which is nice, but not always necessary. The problem with the folding pedals is that they’re known to make a rather annoying “squeak” or “click” on each pedal rotation. To fix this issue, you can either try putting some oil in the folding mechanism, or install stiffer mountain bike pedals (like these).
For a full list of Mate X upgrades and accessories, check out this page!
8. Secure the fenders (or don’t install them)


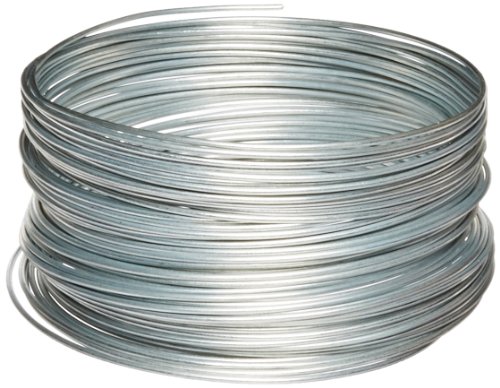
The fenders don’t have enough securing points to the frame of the bike, which can cause them to squeak, wobble, and even break (as mine did). However, with a little elbow grease, they can work nicely. As Eric Brisco pointed out on Facebook, a simple DIY wire stay fix from REI’s DIY fender blog post can fix the issue.
Until I post a detailed how-to, see Parts 3 and 4 of the REI blog post above to create and mount DIY wire stays (don’t forget your drill and 5/32nd bit). These two items you’ll need are:

9. ☝️ Other tips!
Check out the user manual and detailed instructions, the Mate X Assistant for more!
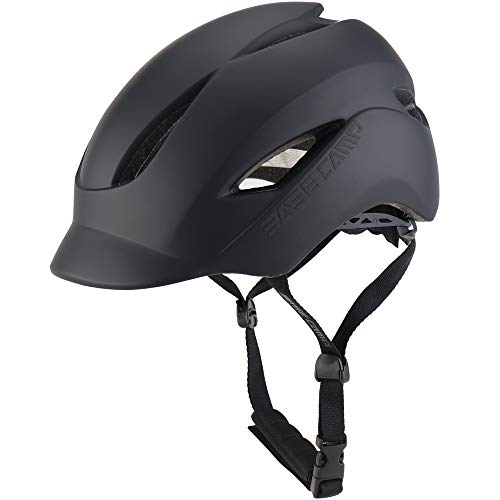
Always wear a helmet. Seriously. The Mate X reaches speeds of 30 mph, which is significantly faster than non-ebikes and can severely injure you in a crash. Crashing at 25 mph is equivalent to riding off a two story building into the concrete. Helmets save lives and prevent injury. Don’t risk it.
Check out accessories and upgraded parts below! Click here or scroll down.
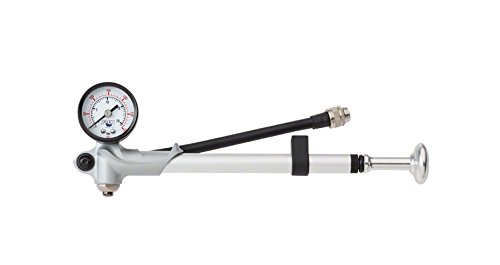
Keep your tires inflated to 20 psi (check them every week or two).
Never leave your Mate plugged in charging without supervision. Store the bike or battery in an area away from fire hazards.
Stay tuned for more videos and tips. This site just getting started! In the meantime, check out some other videos for the Mate X below!
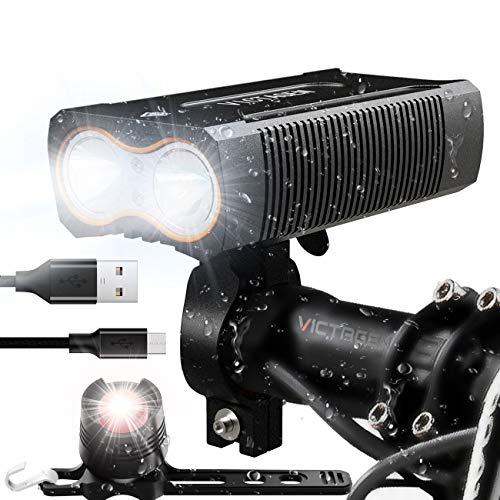
How-to install the Mate X Lights
Save yourself some time and watch this video FIRST! If you bought the front and rear lights for your Mate X, check out Robert Larkin’s helpful video on how to install them! He even provides all the tools (including allen wrench sizes). Hat-tip to Robert for the excellent video!
Comparison: Mate X vs. Super 73(s)
Which one wins? Check out Sergio Hernandez’ oceanside comparison of the two Super 73 models (S1 and Z1) against the Mate X 750s to learn about the strengths and weaknesses of both bikes.
Adjusting Mechanical Disc Brakes
Check out this video from Halford’s to see how to adjust your mechanical disc brakes. Once my Mate X arrives, I’ll post a detailed how-to video on adjusting your Tektro mechanical disc brakes.
Adjusting Hydraulic Disc Brakes
This video from Diamondack shows how to adjust your hydraulic disc brakes.
Unlock Ludacris Mode on the original color display (on bikes from China)
Note: that by altering the motor controller settings, you will void the warranty for your Mate Bike. For long-term health of your Mate Bike, we recommend leaving the factory settings in place.
From the main dashboard, doubelclick the “M” button (Menu)
Scroll to “Advanced setting” using the + / - buttons
When prompted, enter the code “1801” using the + / - buttons to change each number
Scroll down to “Current limit” and change it from 18A to 25A
Scroll up to “Speed Limit” and change it from 32 km/h to 52 km/h
Beside your assist level is set to “9” (this allows the secret tenth assist level)
Then accept the disclaimer, click “Next Page” then “Agree”
Enjoy the Starship Enterprise gif :)
Then double-click “M” to go back to the dashboard
You should now be able to increase the assist level from 9 to 10, and it should show “turbo”
Special thanks to Michael Hsu on the Mate Bike Backers Facebook Group for sharing his video. I would include it, but Facebook doesn’t allow embedded videos from Groups.

For steps 4, 5, and 6 these are the settings needed for Ludacris mode + Turbo (10th pedal assist level). Photo credit: Michael Hsu (via Facebook).
Unlock 39 kph on the B + W Display
Note: that by altering the motor controller settings, you will void the warranty for your Mate Bike. For long-term health of your Mate Bike, we recommend leaving the factory settings in place.

On the black + white display of the Mate X, select “4-Speed Limit” and change the speed from 32 km / h to 39 km / h (that’s 24 mph). Photo credit: Lorenzo Guzzi (via Facebook).
From the main screen, click the “i” button to access the “Settings” menu
Scroll down to “4-Speed Limit” using the + / - buttons
Change the speed limit to 39 km / h, then press “i” again to confirm
Accept the warning message by scrolling down and selecting “Confirm”
You can try adjusting “7-Set Current” to a higher current level, perhaps as high as 20A as on the color display (I haven’t seen this attempted yet, you should verify the controller can handle 20 A first).
Special thanks to Lorenzo Guzzi on the Mate Bike Backers Facebook Group for sharing his video. I would include the video, but Facebook doesn’t allow embedded videos from Groups.